Surviving QNAP RAID failure

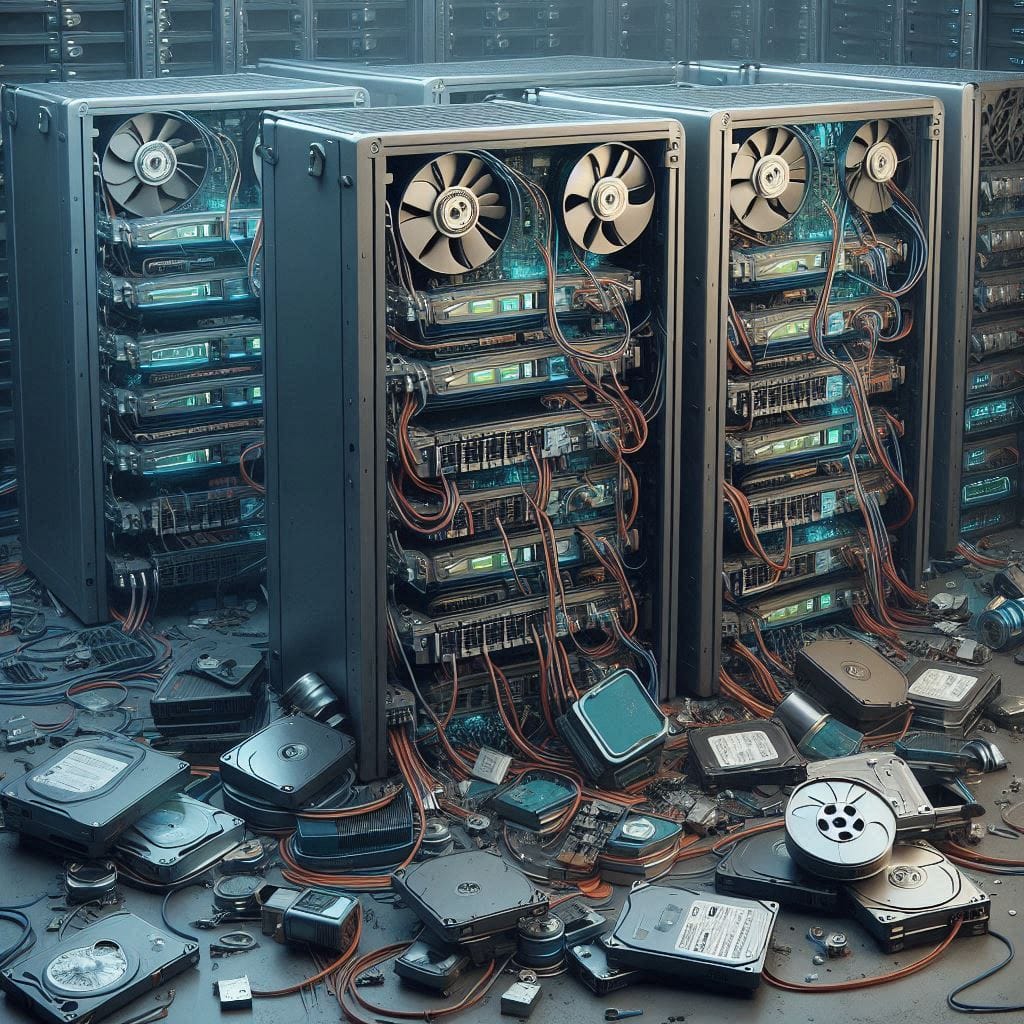
I recently survived a QNAP disk array failure. In the years I've been in IT administration, I've seen a fair few of these broken drives. From home hard drives where the electronics (PCBs) have been replaced piece for piece - and I've even experienced the reassembly of the read heads (no, I'm not really one of those hobbyists who's managed to do that) - to the failure of a professional disk array from Dell. Back then, a bad firmware version of the drive was to blame.
Gradual replacement of RAID1 drives led to complete failure of the QNAP
I can't imagine a simpler configuration than RAID1. You have all the data on each drive at any time. That's the beauty of it.
And one wishes that when you pull one such drive out, connect it to your laptop, enter a few magic commands, or use the manufacturer's utility, the data will be available. It worked for Synology, but for QNAP?
It all started on a Friday afternoon. The planned gradual replacement of the disks in the mirror reached its final stage - the replacement of the second disk. Well, there aren't that many stages in the mirror disk replacement. By the way, the original disks had a running time of 1936 days. Impressive. You pull a disk out like that on a Friday afternoon and a few minutes later you find you've made a whole weekend's work.
For those unfortunate enough to have perhaps been hit by the same thing as me, I leave here a few short commands that led me to rescue all the data.
I've worked with four disks to save one. And I'm sure I would have appreciated an extra disk at certain stages.
QNAP - it has a catch
The problem with QNAP is that although it uses Linux software RAID to do the job, it does so using proprietary libraries that are not available in regular Linux repositories.
The result? Data can only be saved to the QNAP device. For example, if the device itself has failed, this post is unlikely to help you. This vendor lock-in is sad indeed. The option in this case is to contact support. I wonder how they would respond. I haven't tried it...
The disks are therefore not readable outside QNAP, so there is no other choice but to work directly on the disk array. For this, additional disks will be useful to boot a clean system from which the damaged array can be rebuilt or repaired. Even my favourite, not cheap, Disk Drill failed to recover. And it has already managed to save a lot.
Commands that help
QNAP has come up with several proprietary commands and utilities. Here is brief summary of the ones that have helped me.
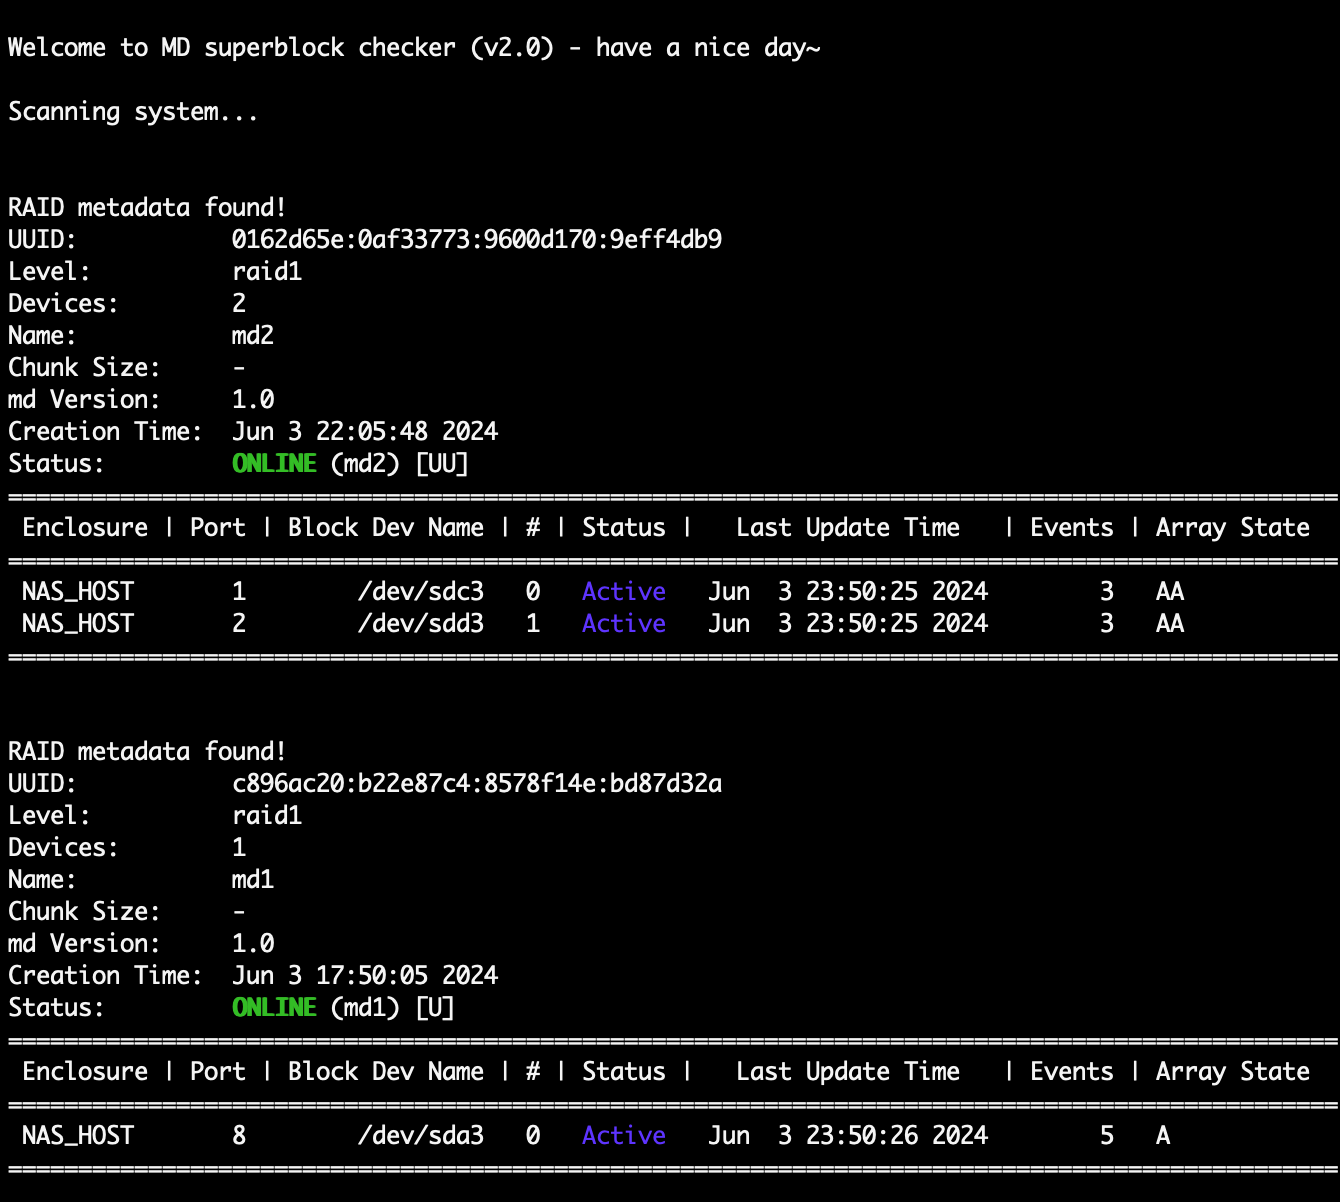
md_checker
A nifty shell script that summarizes disk status into a nice report. Note, in my experience it differs from the information in the Storage & Snapshots GUI application and is more correct.
Utility /sbin/storage_util
This is a QNAP management tool. Already from the help you can tell that this is a Swiss Army knife of NAS control. And also, as far as I know, the only way to mount disks. The init script /etc/init.d/init_lvm.sh is used for this.
[~] # cat /etc/init.d/init_lvm.sh                                                                                                                       #!/bin/sh
echo Changing old config name...
mv /etc/config/ssdcache.conf /etc/config/ssdcache.initlvm
mv /etc/config/qlvm.conf /etc/config/qlvm.initlvm
ha_enabled=`/sbin/getcfg "Global" "ha_enabled" -d "no" -f /etc/config/ha/qha.conf`
if [ "x$ha_enabled" = "xno" ]; then
    mv /etc/config/qdrbd.conf /etc/config/qdrbd.initlvm
fi
mv /etc/config/raid.conf /etc/config/raid.initlvm
echo Reinitialing...
/sbin/storage_util --sys_startup
/sbin/storage_util --sys_startup_p2
echo Done
echo
mdadm
This is a standard Linux utility for managing software RAID. Therefore I'm just mentioning it here.
mdadm -D /dev/md1
mdadm -E /dev/sda3
# and so on :)
Meaning of partitions and paths
The meaning of each partition is summarized in the following snippet. Data is always stored on /dev/sdx3, the meaning of the other partitions can be deduced.
/dev/md1 = Data
/dev/md9 = Configuration, update and root perhaps?
/dev/md13 = Web interface engine and other OS extension
/dev/md256 = Swap
/dev/md321 = Swap (unmounted) it is used in some way?And for the sake of completeness, important paths.
# Shared folder data location
/share/CACHEDEV1_DATA

# External (USB) drives location (example)
/share/external/DEV3302_1
Conclusion
When I was troubleshooting this failure, I read a lot of advice and recommendations. One thing stuck in my mind: "recovery should not be a strategy". And indeed - if the data had been backed up, everything would have been so much easier.
It is also important to highlight how complicated extracting data from QNAP's RAID1 was. Personally, I believed that it would be sufficient to connect the drive to Linux and cast a spell with mdadm. I was surprised on this one.
And one last little thing - make a backup of your system configuration.